summary
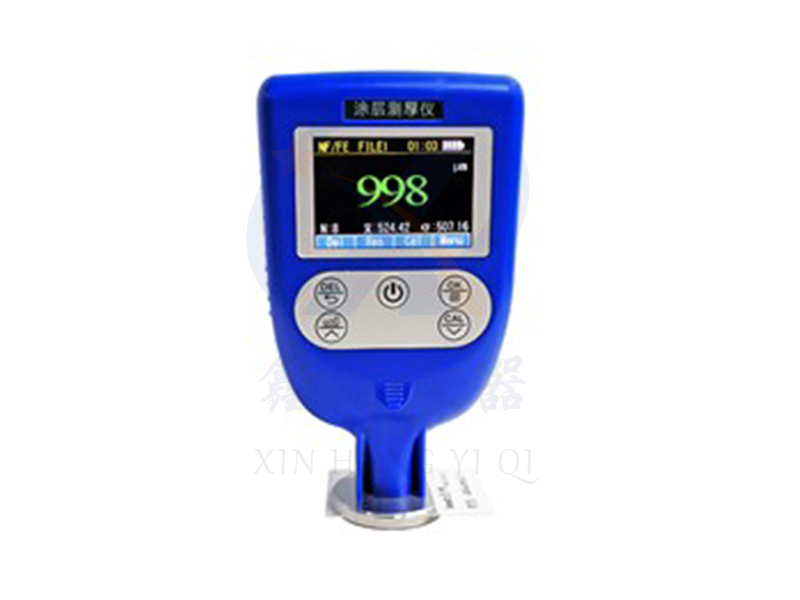
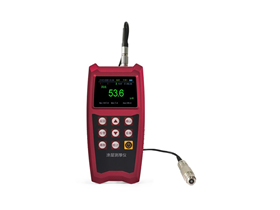
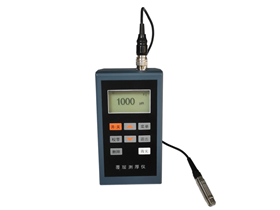
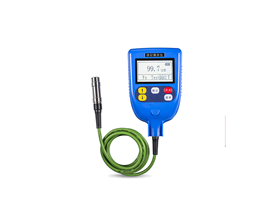
This instrument is a portable coating thickness gauge that integrates magnetism and eddy current. It can quickly and non-destructive measure the thickness of coatings and coatings. It can be used in both laboratories and engineering sites. This instrument can be widely used in manufacturing, metal processing, chemical industry, commercial inspection and other testing fields, and is an important instrument for material protection.
This instrument meets the following standards
GB/T 4956-1985 Measurement of thickness of non-magnetic coatings on magnetic metal substrates Magnetic methods
GB/T 4957-1985 Eddy current method for measuring the thickness of non-conductive coatings on non-magnetic metal substrates
JB/T 8393-1996 Magnetic and Eddy Current Coating Thickness Measuring Instruments
JJG 889-95 "Magnetic reluctance thickness gauge"
JJG 818-93 Eddy Current Thickness Gauge
major function
Two thickness measurement methods, magnetic and eddy current, are used to measure the thickness of the non magnetic coating layer on the magnetic metal substrate, as well as the thickness of the non-conductive coating layer on the non magnetic metal substrate.
There are two measurement methods: continuous measurement and single measurement
There are three measurement modes: high-precision measurement mode can take the average of multiple measurements and automatically filter suspicious data, ensuring more accurate and stable measurement values; The fast measurement mode can achieve real-time scanning function.
● Equipped with temperature compensation function: Real time temperature compensation technology can automatically compensate for measurement errors caused by changes in environmental temperature and probe temperature, making measurements more accurate.
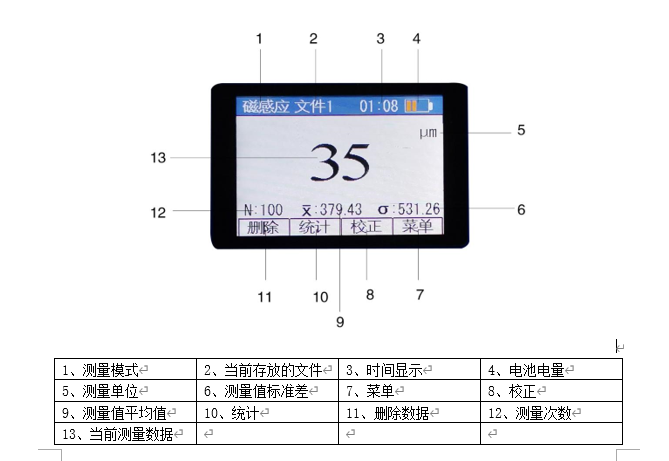
There are five statistical measures: mean (MEAN), maximum (MAX), minimum (MIN), number of tests (NO.), and standard deviation (S.DEV).
The instrument can be calibrated using zero point calibration, single point calibration, or two-point calibration methods, and the systematic error of the measuring head can be corrected using basic calibration and temperature coefficient calibration methods.
● With storage function: up to 500 measurement values can be stored.
● It has deletion function: it can delete a single suspicious data that appears in the measurement, and can also delete all data in the storage area for new measurements.
● Settable limits: Automatically alert for measured values outside the limit.
Equipped with power level indicator function.
There is a buzzing sound during the operation process.
There are three shutdown methods: manual shutdown, timeout automatic shutdown, and low battery automatic shutdown, and the timeout automatic shutdown waiting time can be set
Specification parameters
|
project
|
Leeb252C
|
|
Probe type
|
F1
|
N1
|
|
operational principle
|
magnetic induction
|
Eddy current
|
|
measuring range
|
0-1500 μ M
|
0-1500 μ M
|
|
Low resolution limit
|
0.1um below 100um, 1um above 100um
|
|
Indication error
|
Zero calibration
|
± (3% H 1)
|
|
Two point calibration
|
± [(1-3%) H 1]
|
|
Test conditions
|
Minimum curvature radius mm
|
Convex 1.5
|
Concave 3
|
|
Minimum area diameter mm
|
Φ seven
|
Φ five
|
|
Basic critical thickness mm
|
0.5
|
0.3
|
|
work environment
|
temperature
|
0-40 ℃
|
|
humidity
|
20%~90%
|
|
source
|
Two No. 7 alkaline batteries (1.5V)
|
|
External dimensions
|
112 x 70 x 23mm (main unit)
|
|
weight
|
Approximately 80g
|
|
Standard configuration
|
Host, standard test piece, substrate, AAA alkaline battery
|
Product Description

measuring principle
This instrument adopts two thickness measurement methods, magnetic and eddy current, which can measure the thickness of non-magnetic coatings on magnetic metal substrates (such as iron, cobalt, nickel) (such as aluminum, chromium, copper, enamel, rubber, paint, etc.) and the thickness of non-conductive coatings on non-magnetic metal substrates (such as copper, aluminum, zinc, tin, etc.) (such as enamel, rubber, paint, plastic, etc.)..
A. Magnetic method (F-type probe):
When the probe contacts the covering layer, the probe and the magnetic metal substrate form a closed magnetic circuit. Due to the presence of the non-magnetic covering layer, the magnetic resistance of the magnetic circuit changes. The thickness of the covering layer can be measured by the change in its magnetic resistance.

B. Eddy current method (N-type probe):
Using high-frequency alternating current to generate an electromagnetic field in the coil, when the probe contacts the covering layer, eddy currents are generated on the metal substrate, and feedback is generated on the coil in the probe. The thickness of the covering layer can be derived by measuring the magnitude of the feedback effect.

calibration method
This instrument provides two calibration methods used in measurement: zero point calibration and two-point calibration; And two calibration methods for probes: basic calibration
Zero calibration
When measuring on different substrates, perform zero point calibration again. When there is a significant deviation between the properties of the substrate used for calibration and the substrate of the test piece, the measurement value will deviate. One of the following two methods can be used for zero point calibration:
Method 1: a) Conduct a measurement on the substrate, and the screen displays<xx μ m> .
b) After lifting the measuring head, long press the "calibration" button, the screen will display<0.0um>, and the calibration is completed.
Method 2: Short press "Calibration" to enter the calibration interface, measure the matrix, press "Confirm" key, and then skip the next interface. When measuring (1000um), press "Skip" key to complete the calibration.
Two point calibration
This calibration method is suitable for high-precision measurement and small workpieces, quenched steel, and alloy steel.
a) Short press "Calibration" to enter the calibration interface, perform zero point calibration on the substrate, and the screen will display<xxxxum>. Press "Confirm" to confirm.
b) Measure the standard film (1000um) according to the prompts, and the screen displays<xxxxum>. Press the "Confirm" button to confirm. When there is no standard film with a thickness of 1000um, replace it with a film with a similar thickness. To set the thickness of the film on the instrument, the operation method is as follows: when prompted to measure the standard film with a thickness of 1000um, press the "Set" button to enter the calibration value setting interface, press the "Λ" and "∨" buttons to adjust the thickness value of the film, then press the "Confirm" button to confirm and return to the calibration interface. Here, the measurement of (xx xum) is made accordingly.
Maintenance and repair
1. Environmental requirements
Strictly avoid collisions, heavy dust, humidity, strong magnetic fields, oil stains, etc.
2. Replacing the battery
When the battery level on the screen is displayed as less than 2 bars when turned on, it indicates that the battery should be replaced.
3. Instrument maintenance
When a malfunction occurs, please do not disassemble the machine for self repair. After filling out the warranty card, please hand over the instrument to our company's maintenance department to comply with the warranty regulations. If you could briefly describe the situation where the error occurred and send it out together, we would greatly appreciate it.


